This high-end luxury motorhome allows you to travel in class! Features three slide-outs, including one that is almost the entire left side, a powerful diesel engine in back, two bathrooms, plentiful storage underneath, a well-appointed kitchen, and much more.
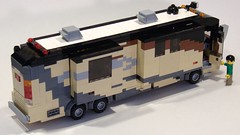
It is based on the Fleetwood Revolution LE 42K Motorhome but I should admit I took a lot of artistic license, especially with the artwork on the sides.
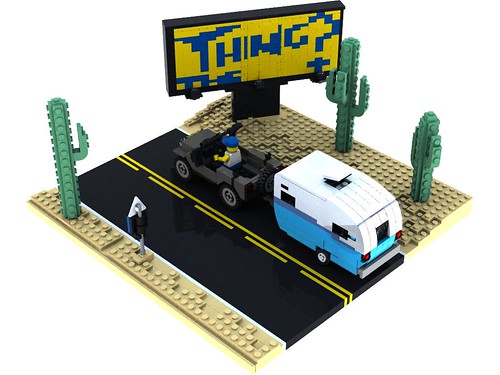
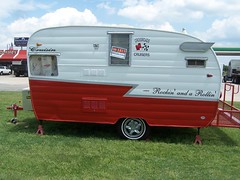
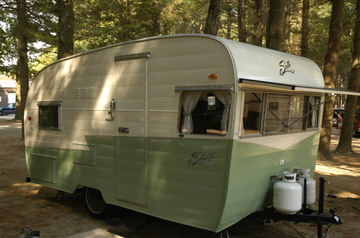
This is pretty much the diametric opposite from my last RV model, the Shasta Teardrop Travel Trailer that I made a couple of weeks ago. While that one was small and minimalistic (with only the most basic interior, and no removable roof) with classic styling from the 60’s, this one is modern and contains all the amenities you could wish for. However, neither model has 4 wheels, so both are eligible for the All But Four challenge on LUGNuts. It’s also eligible for a new Flickr group I created, LEGO RVing.
Hope you enjoy it, and please post comments here or on Flickr. If you want to see it in person, come to the BayLUG exhibit at MoAH in Palo Alto, CA – I’ll be bringing it there tomorrow and it will be there through January 11, 2009.
Click the photo above for the photoset on Flickr, or view it as a slideshow.


